Yay! Today, It's another easy tutorial for you to try. I posted my own decal tutorial yesterday, today I'm going to do a tutorial for nail tattoos.
Hey, aren't they the same - you're probably wondering.. Well, they're - uhm, similar - but slightly different. I'll show you :-)
Let see the tools I use for this:
- A bowl of water - room temperature
- base coat
- white polish (or any other light color polishes, depending on the color of the tattoo design)
- scissors
- tweezers (optional, I use this for very small tattoos)
- Some cotton and tissue paper
All set? Ok, let's start.
Now onto the details... :
1. Prep your nails: wash your hands, sterilize your nails with aceton or alcohol then apply a good base coat
2. Paint your nails white (or any other light color polishes, depending on the color of the tattoo design). White polish works best, imo, because nail tattoos are semi transparent.
3. Cut the tattoo as close as possible to the edges of the design.
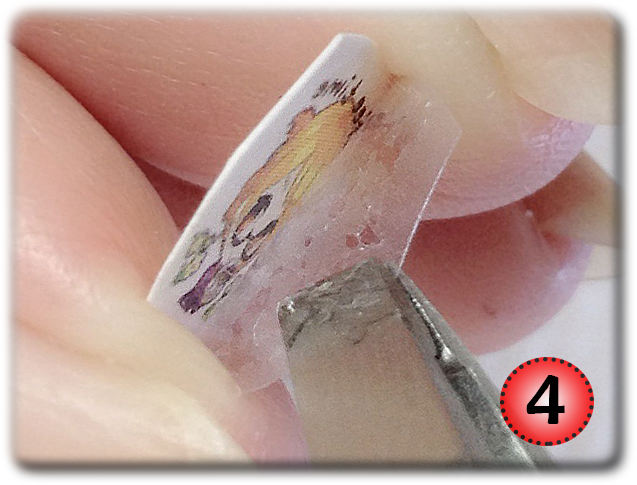
4. Peel off the adhesive plastic from the design you just cut.
5. Place the design wherever you want on your nails - face down. You need to get this right the first time though, because it will stick immediately once it touches your nail.
6. Wet a piece of cotton with water
7. Then put that wet piece of cotton on the tattoo, that you just place on your nail. Slightly press it to fit the curve of your nail. I use tweezer for the sake of this tutorial *lol* I usually just dip my finger into the water and use my finger to press the tattoo on my nails.
8. After a few seconds, the backing paper will slide easily, revealing the tattoo underneath.
9. Now, dampen your finger and use it to smooth out any wrinkles and air bubbles. Once you're satisfied with the result, absorb any excess water with a tissue paper.
10. I'm quite obsessive when it comes to wrinkles, so I use something soft to press the edges of the tattoo, making sure that no air bubbles left.
12. Et Voila! You can continue decorating the empty spaces or you can leave it like this ^_^
Go ahead and try some nail tattoos! They're fun to look at :-) Plus, you can use it over some freehand painted nail art too. If you have any question, please leave a comment below. I really love to hear your opinion on this.


No comments:
Post a Comment